

A contribution from Die Redaktion in the category #Coffee Knowledge from 17 August 2020
The high art of milk froth design has to be learned. From the right consistency to the perfect swirly heart, these things take time and a lot of practice. We show you a few pointers on how to make the perfect milk froth and add a heart to your coffee.
What is it ‘Latte Art’?
The Italian-English term meaning „milk art“ describes the design of the milk foam on the surface of espresso-based beverages. The actual art is not (only) in the pouring technique of milk, nor is it in the use of helpers such as pens, stencils and chocolate sauce. To create great art, the ambitious coffee artist first needs a canvas, and this comes by perfecting the technique of milk foaming.
This may come as a surprise, but it’s vital for taste as well as for artistic design: the taste of milk changes during foaming. The temperature sweet spot for foamed milk is between 60 and 70 °C, as it tastes fresh and sweet here. At a higher temperature, enzymes start to change and the milk can take on a burnt flavor.



Goal: Fine pored milk foam without large bubbles
Key for latte art also is the consistency of the milk froth. Unlike cappuccinos and latte macchiatos, a fine-pored „microfoam“ is necessary, which breaks through the crema of the espresso and then rises again in the cup. Only then can you draw on the surface of the espresso with the milk froth. For creating the ultimate foam, we recommend using the steam nozzle of traditional espresso machines or fully automatic coffee machines.
Tip: Before you foam your milk, you can steep the espresso. When you have finished foaming the milk, you should start pouring it as soon as possible.
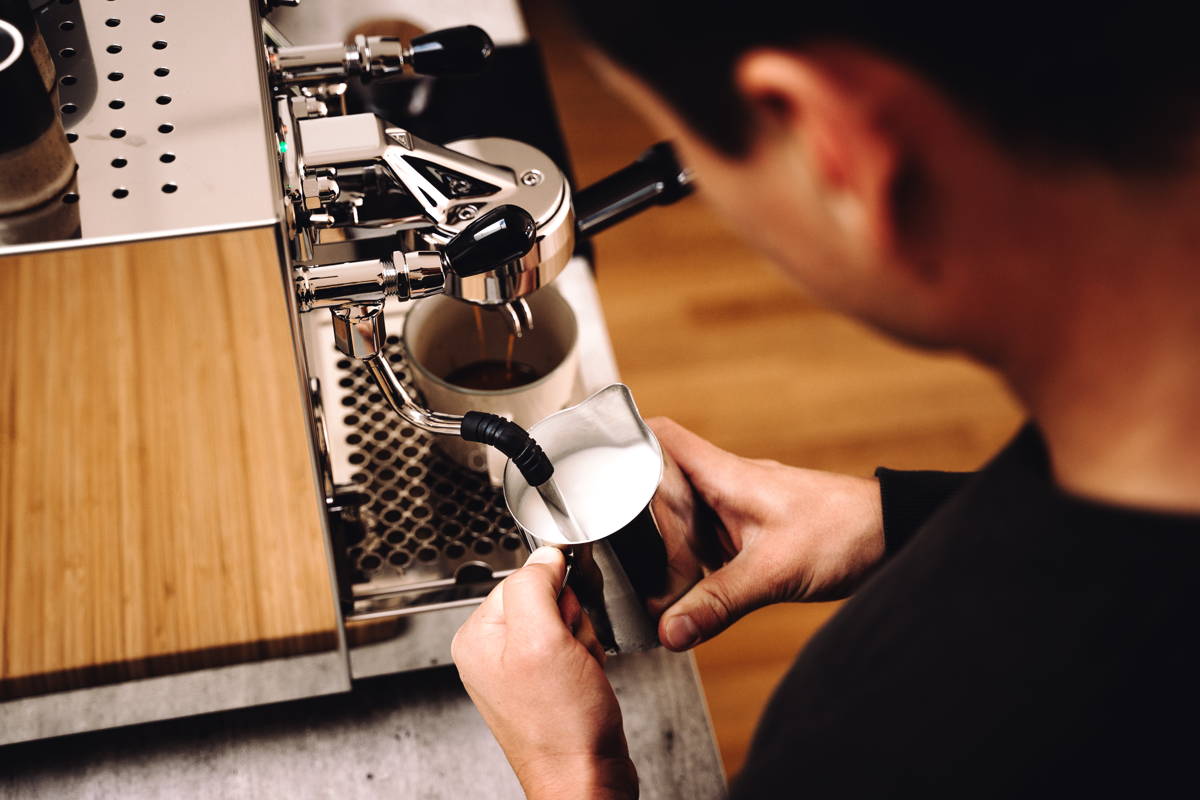
How to achieve the right milk foam consistency
For good foaming, the fat content of the milk should be less than the protein content (though this is the case for most milk varieties). We recommend using whole milk for taste reasons. It’s important that the milk is cold, otherwise the warm-up period and thus the time to create fine-pored foam is shortened.
1. Ideally, you have a clean and also cold milk jug at hand, which you fill up to the lower end of the beak or spout with cold milk. Before you start, you should open the steam valve briefly to drain any excess water.
2. To start off, position the tip of the milk nozzle 1-2 cm below the surface of the milk. Hold the can with one hand and start steaming with the other hand. Now the drawing phase starts, in which air is drawn into the milk and foam bubbles are rising. Bring the nozzle slowly towards the surface after starting, so a scratching or hissing sound is produced. Slowly lower the milk jug down as the milk rises. The milk nozzle should still be just under the surface and air is drawn in a few times.
Tip: If you don’t want to waste milk on your first attempts, we recommend using dish soap. Yes, you read that correctly! A drop of dish soap in cold water has similar properties to milk when foaming and is therefore good for practising.
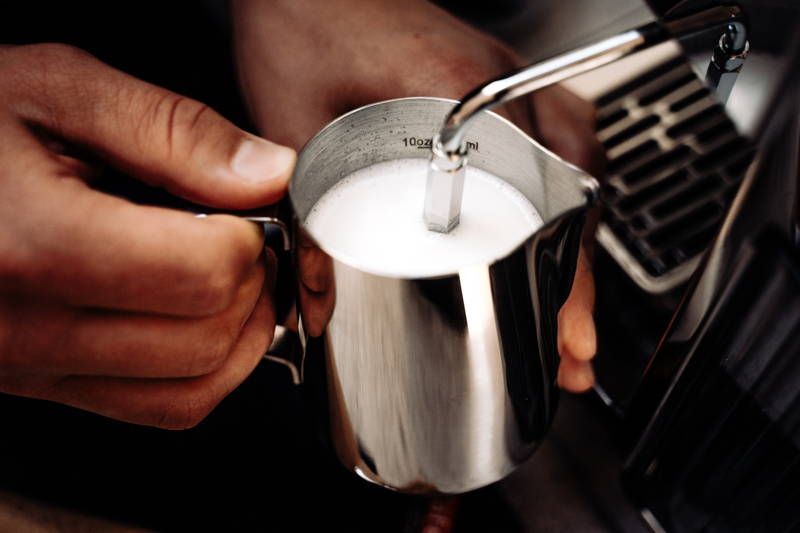
3. Check the temperature of the milk by holding one hand against the jug. At 30-40 °C (milk feels warm on the hand) you go from the drawing to the rolling phase. During the rolling phase no additional air is added to the milk. Instead, the foam is „rolled“, causing larger bubbles to disappear and the consistency of the foam to become finer and more even. Lower the nozzle slightly deeper into the jug and try to find a position where the milk rotates in a circular motion inside the jug. You should also hear this, because the rolling phase is much quieter.
4. To let the last big bubbles pop, you can knock the milk jug on the table for a moment and then give it a swivel. Don’t forget to use the milk quickly. There’s a window of about30 seconds before the milk foam separates and dissolves any dream you had of making good foam art.
5. If the milk jug becomes too hot to hold (about 65 °C), stop the process by closing the steam valve. It is best to clean the milk nozzle immediately after use so that no milk residues settle inside the nozzle. To do this, you must briefly steam the nozzle and wipe it clean with a cloth.
From Espresso to Cappuccino - Video Series
Latte Art – Putting the Art in Heart
To get this right, you’ll need a milk jug with a pointed beak. Support the milk jug against the edge of your cup and make sure that a fine, steady stream of milk comes out of the jug. The milk will first flow under the crema to the bottom of the cup and then back to the surface. When the milk rises again, you’ve got your canvas. But at the end of the day, theory will only take you so far and you just have to get out there and practice.
Tipp: If possible, use round or convex cups to have a larger area for drawing your milk.
